I love making awesome comics! I want to carry on drawing and creating!

I want to purchase a subscription to The Phoenix comic.
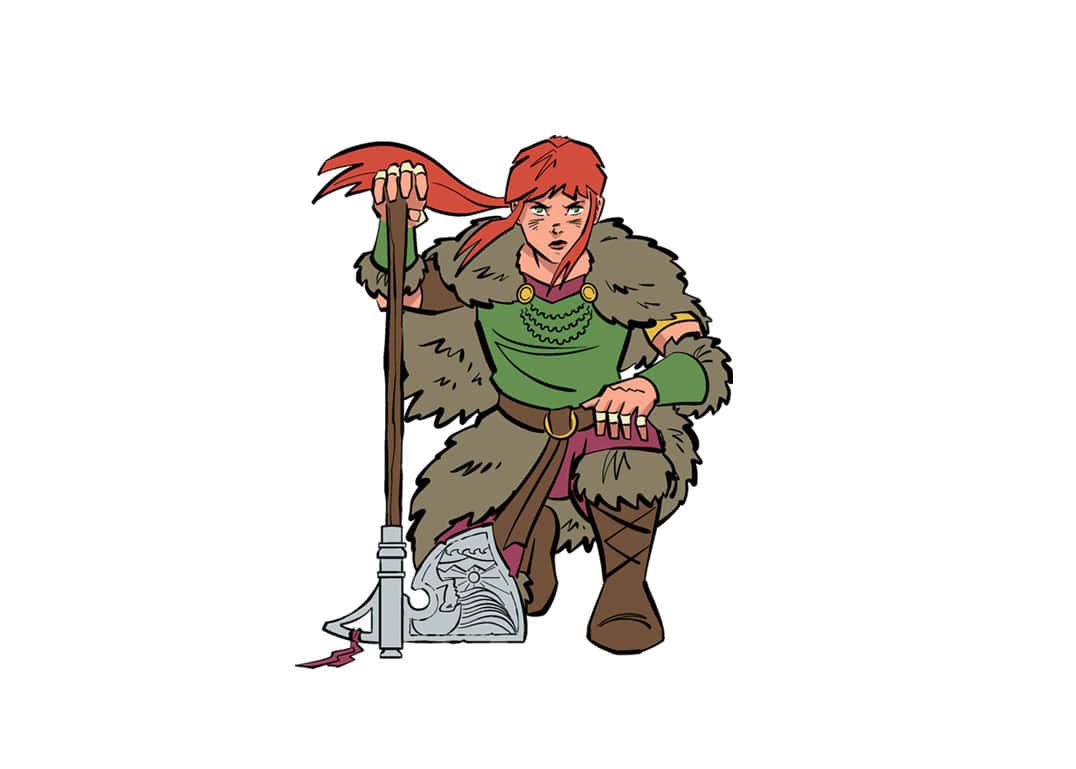
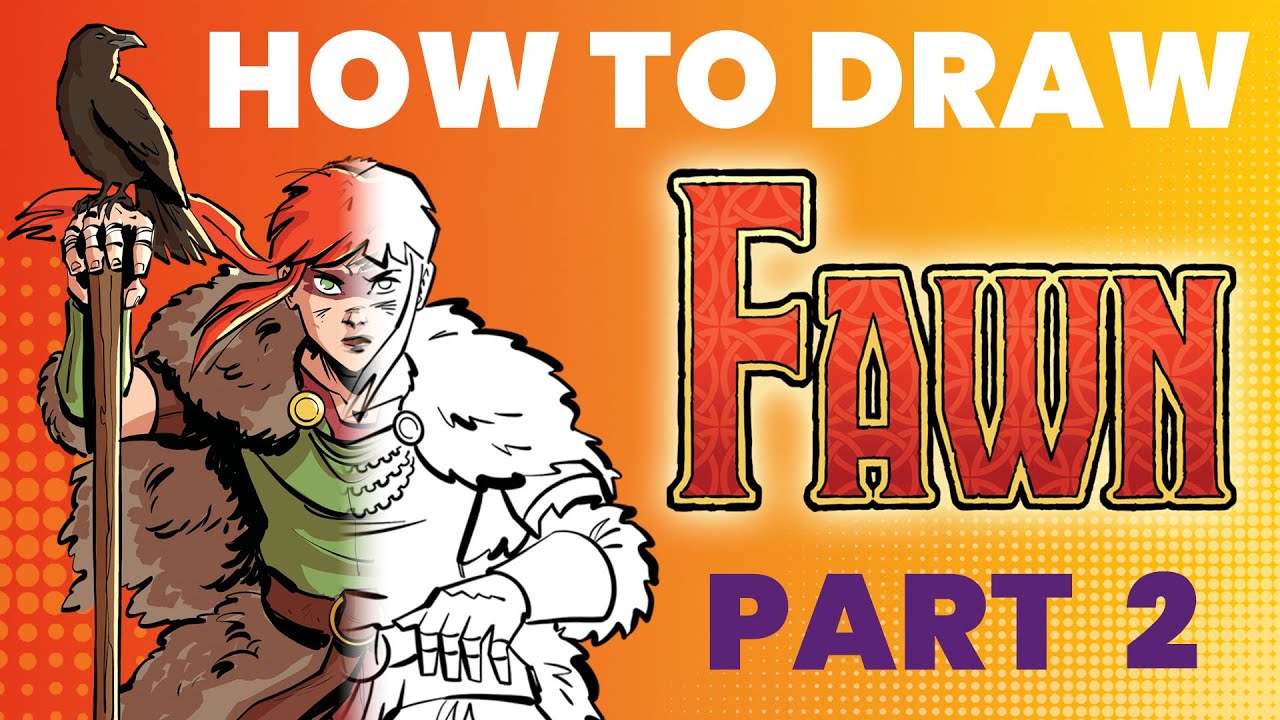
Draw along in Part 3 of this step by step tutorial. We're learning how to draw Fawn and this final part covers Fawn's Axe: Gaia's Fury!
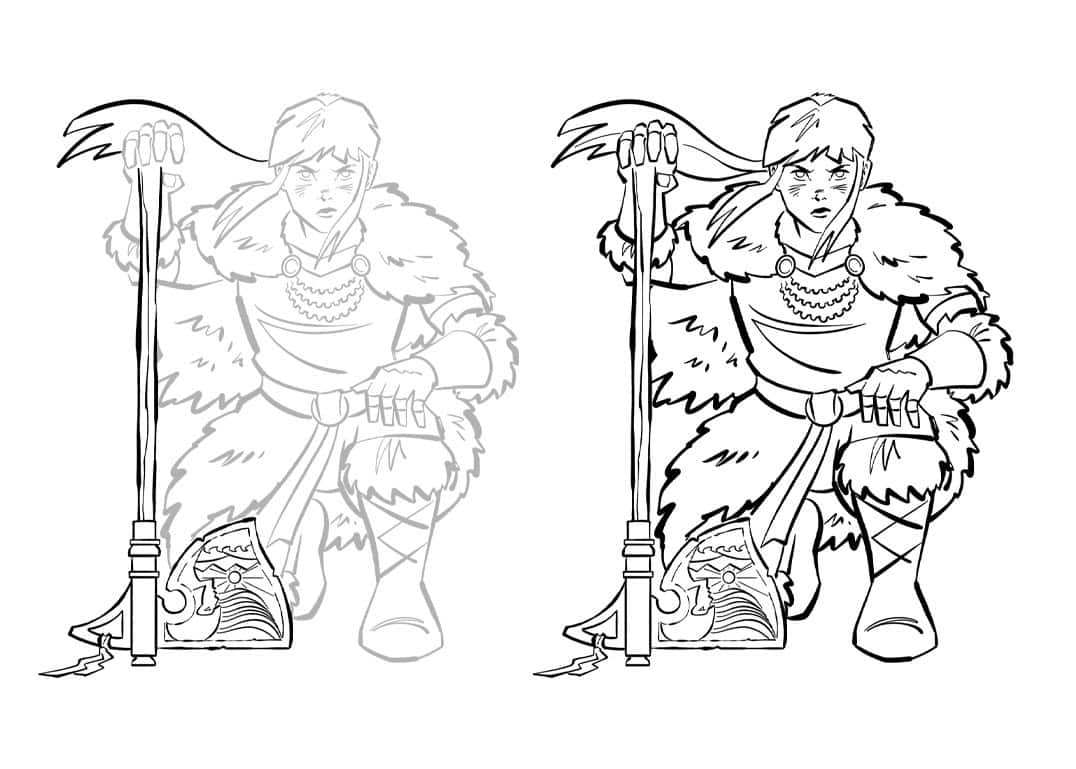
In part one and two, we covered Fawn’s face and outfit and now it’s time to finish things off with Fawn’s axe. So Turn the drawing you’ve been working on so far upside down and let’s get started!
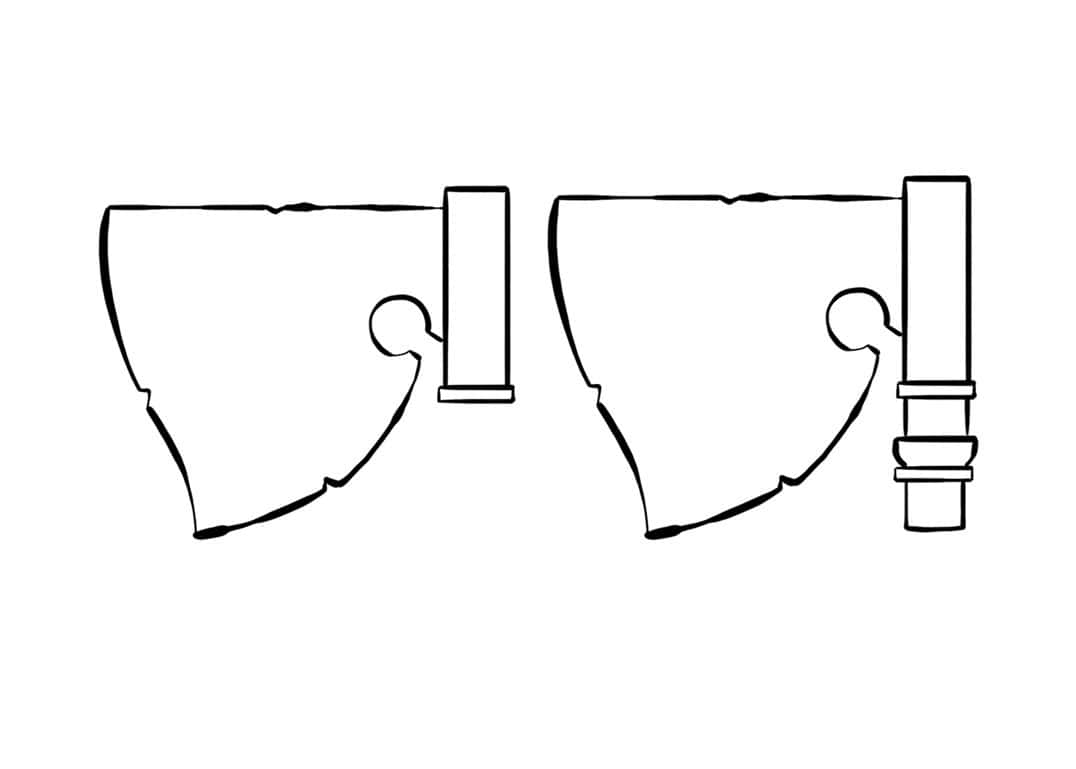
Draw a rough, uneven horizontal line. Add a rough, uneven curved line and another line curving upwards. Draw a circle at the top of your curve.

Draw two rectangles and add two lines coming off your rectangles. Draw two lines curving inward and a straight line to close up the handle. Add another thin rectangle and a square.
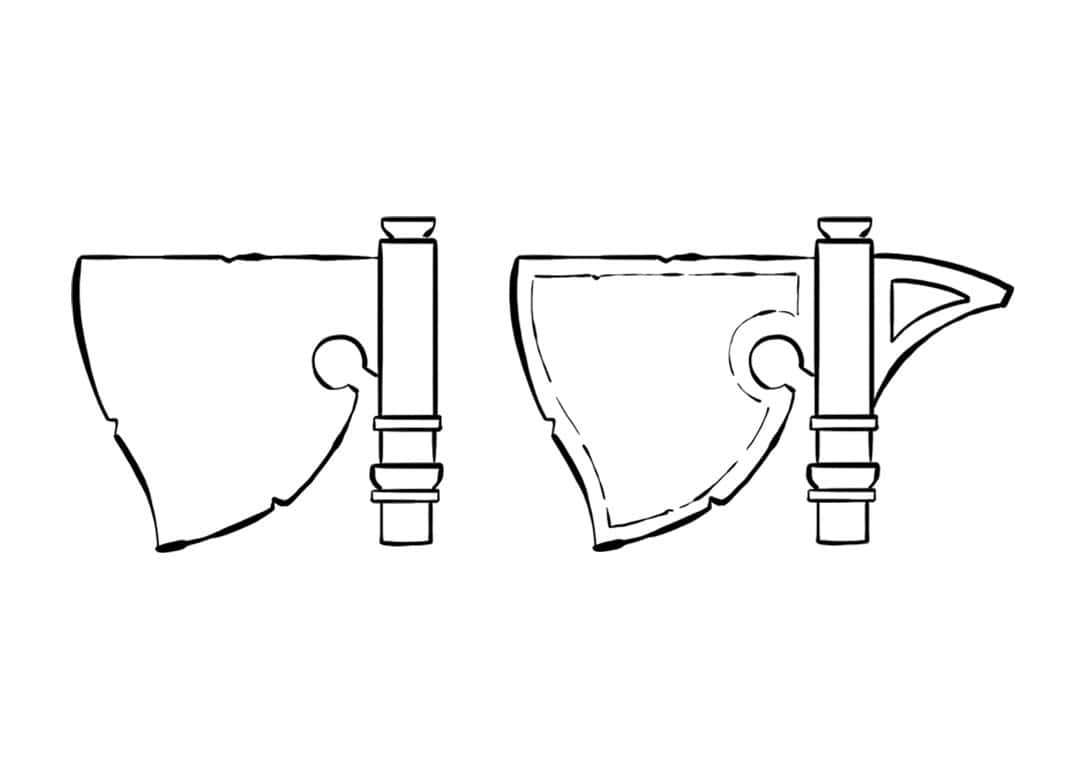
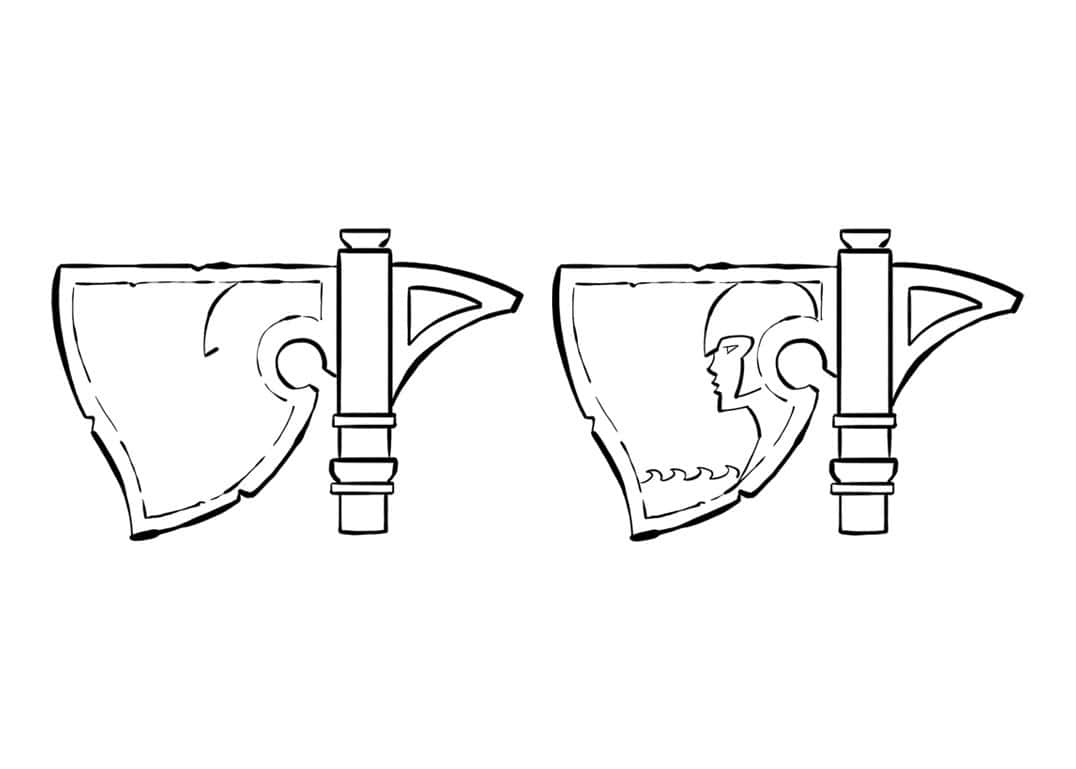
Add a curved notch at the top of the axe and add a fin-like shape to your axe. Draw a smaller fin inside and add a border to your axe with broken lines.
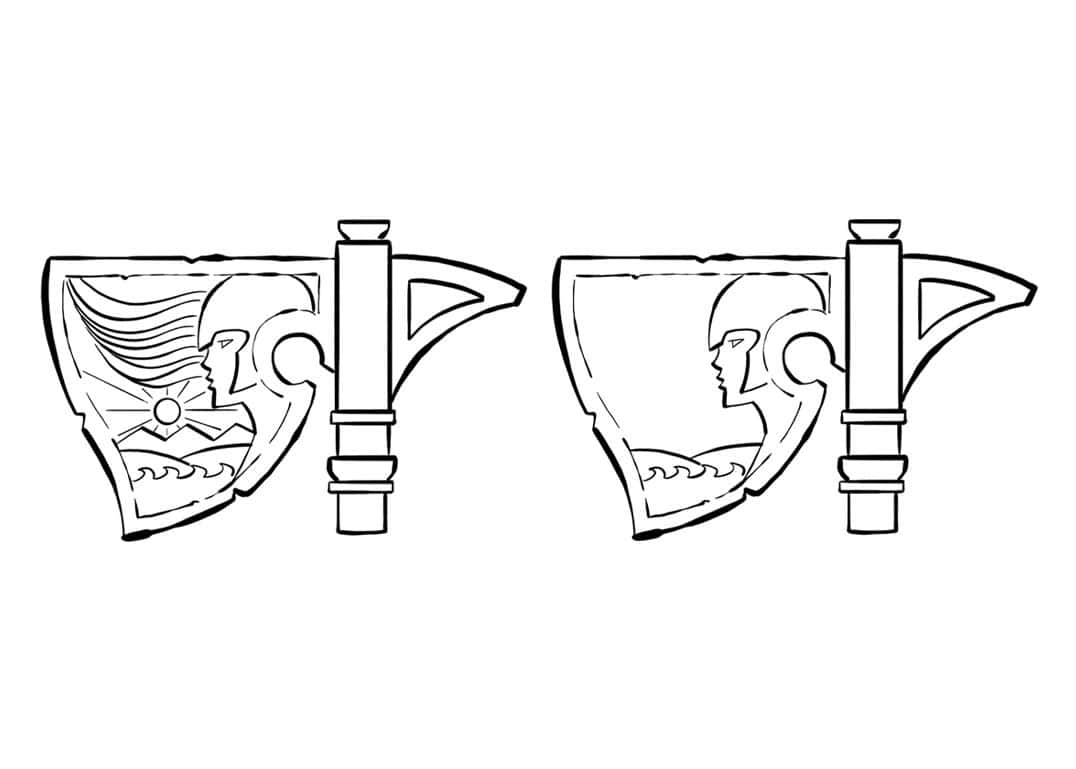
Now for the axe design. Draw a curve and add another series of curves to make a helmet. Draw a very simple face and add some waves.
Ad some hills and some mountains. Draw a sun with beams and finish off with some flowing hair.
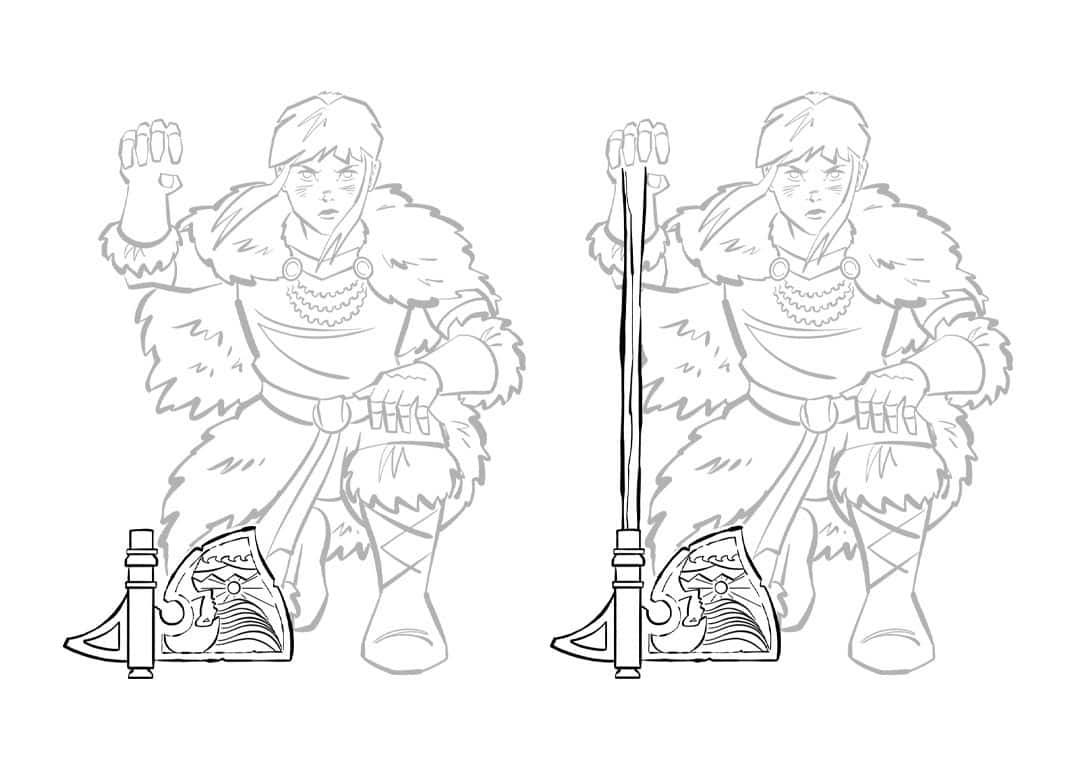
Okay, turn your drawing back round the correct way. Draw a rough wooden handle.
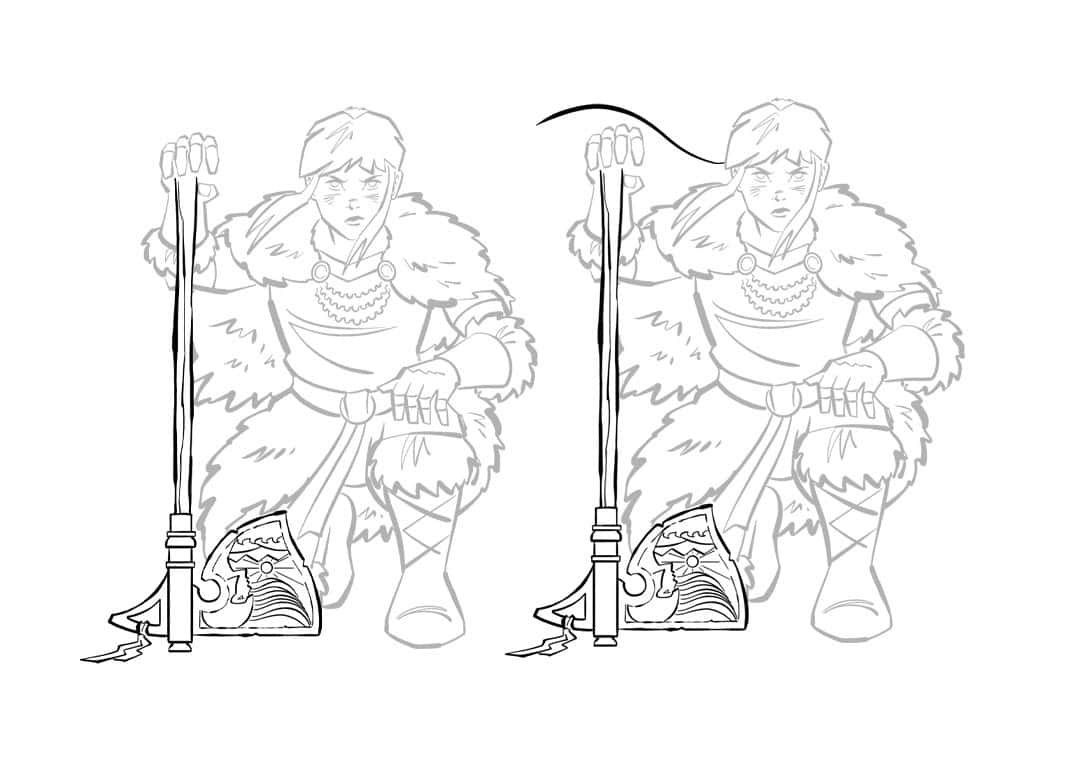
Add a strip of fabric to the hook of the axe. To finish off your drawing of Fawn, draw a long curve coming off Fawn’s head.
Add some choppy shapes to the end of the ponytail. Join up the pony-tail and add an extra line, and you’re done!